A Kitchen Unfolding
/
For Christmas I asked Dave to paint the yellow walls of the kitchen white. He said since we were doing that why not just begin the changes I’ve been dreaming of making. This was incredibly exciting to me. I’ve wanted to do a kitchen make-over somewhere/anywhere forever. Like, dream.
Getting to make choices and pick out tiles and colors and patterns and obsess about every single detail is truly where my joy lives. We’ve been in this house for three years and here is what it has looked like. I always forget before photos, but Dave kept reminding me along the way.
First thing we did was make a plan. This wasn’t a renovation we were going to do all at once, this was a weekend projects together when we had time kind of thing. We planned out what we wanted to do and Dave called the planning our different phases.
Remove molding from top of cabinets
Remove microwave
Take off top cabinet doors
Take down corner cabinets
Move large cabinet over to stove
Put in a hood
Add floating shelves
New countertop and sink
Butcher block island
Tile backsplash
Larger sink
Paint bottom cabinets black
New knobs/handles
This list seems exhausting and expensive and impossible for just Dave and I to do. But once he showed me how to break it down into tiny little projects that we could spend an entire season working on, I could wrap my brain around it.
Each month I save up for one element of the project. First the hood, then the floating shelves. Now I am working on the sink and tile. I spent an entire month looking at tile and getting samples. Finally I found something I think is going to create a unique and beautiful look.

Just some paint and the cabinets rearranged without doors on transformed the space. The bulky microwave which we didn’t want to use made us feel like we could breathe. We already had the paint, and so at this point the renovation was just hard work.

The cabinet on this wall was moved to the right of the stove, taking away that bulky corner cabinet. The kitchen became brighter just by doing this. We had to wait for over a month to get the floating shelves by the maker on Etsy, but so worth it. They are old barn wood pieces from the 1800’s made into floating shelves. No two look alike. I feel like we brought history into a very modern house.


I have spent days learning how to stage open shelving so it functions and looks beautiful. We gave away about 5 huge boxes of things we had crammed into our shelves and kept only things we love. I’ll be talking more about sacred aesthetic in Sacred Roots, but using my sacred aesthetic as a guide, made releasing things possible. I tend to attach feelings and memories to things or think I might need that for something later.
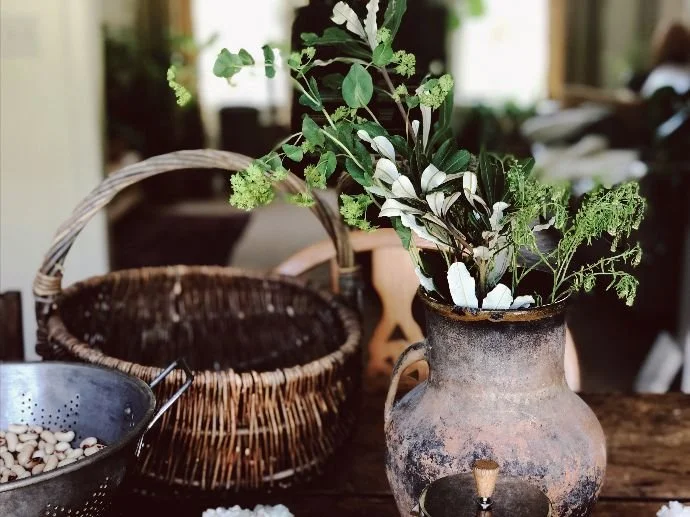
I had been collecting pottery from thrifting or re-salers for months in preparation for open shelving so many of these pieces were selected knowing this is where we were headed and many are just from years of collecting.

The best way I found was to take everything down and just keep trying different combinations. I am getting close. My favorite part is that there isn’t a cup cabinet or a bowl cabinet. Things are clustered together into sets and stories. Mugs are with plates and bowls. Pretty glass is sprinkled into pottery and wood.

The floating shelves are the winner so far. They came with the mounting hardware so all we (Dave) had to do was find studs and put in anchors to hold it. Adding some plants in helps to add dimension and interest. The top shelf now makes the ceiling seem so much higher. I needed to continue leading the eye up by placing big bowls and more plants on top of the cabinets all around the kitchen. Everything is something we use, wooden bowls and kettles.

Putting the hood up was a lesson in patience and not giving up. Dave had to move an outlet and then we chose to hang the hood really high which created a set of problems that took Dave hours and a million tries to figure out. Eventually he got it and it is so worth it. I clapped for him. I did a whole lot of sitting and watching and waiting, feeling incredibly unhelpful, but I can give praise!
The tile will eventually run up to the bottom of the cabinets and across the kitchen. The space in-between the tile and the hood is going to get a knife holder using wood from an old whiskey barrel from a maker on Etsy. We have begun collecting hand forged knives because Dave loves watching Forged in Fire, and it will be art as well as function.


Before and after. So much more space now.
So this was phase 1. Phase 2 will be the big stuff. A light colored quartz countertop, black and white aged ceramic tile in a funky geometric pattern and black cabinets with the most amazing knobs I can find. The sink will be a big granite under mount to give some industrial edge to the space. And the vintage hanging egg basket wins the day.
We are in no rush and I wanted to write this post, one to remember the process, but also to ground into the process. There is no time frame for a dream. You can take it slow. I love how things are right now, I am thrilled, so the thought of even more changes blows my mind.
We often don’t do things because it feels like so much. Money or time or we just don’t know enough. We forget that sometimes the learning and the pace are part of the joy to where we are headed.
I can see what I want but struggle to figure it all out in practical terms. I have an eye for design and space but no skills for the back end, the construction. Dave is able to understand what I want (eventually) and then he helps me move from the idea into the reality. Good team.
I’ll share the next steps as we get there and I’ll do a post on the design too: rugs, colors, tile, ceramics, etc.
And a reminder that Sacred Roots starts January 28th and is totally free.